Buy The Build: Remington T-REX Thermal
- Vector Air

- 2 days ago
- 4 min read

How do you fancy a low-cost but properly capable thermal rating setup, built around a budget PCP that punches above its weight and a thermal optic that, frankly, has no business being this usable at the price?
With warmer nights rolling in, rats are starting to venture out again. Increased farm activity, food movement, and longer evenings mean more opportunities, whether you're dealing with home, land, or business pest control.
So if you want something affordable that still feels a bit… serious, this is where you start.
Ingredients
The Main Event
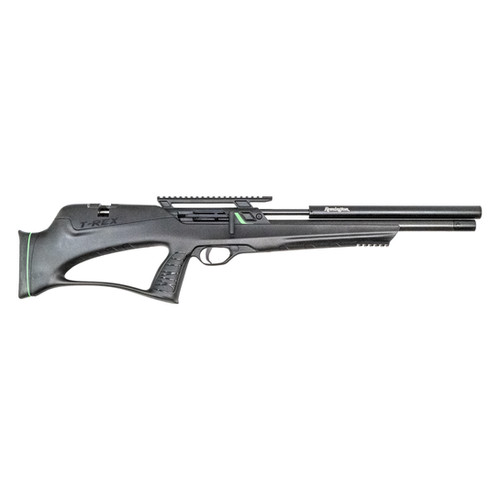
Remington T-REX Bullpup
or
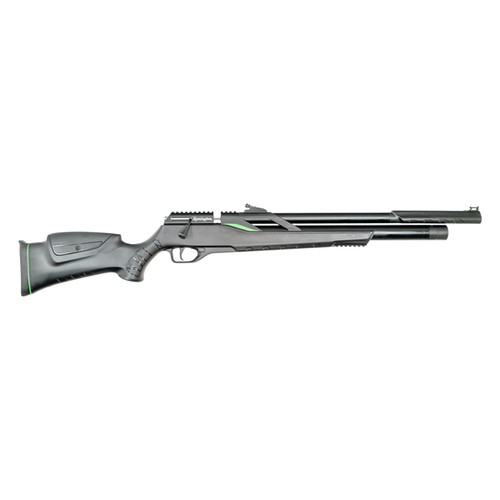
Remington T-REX Bolt Action Sporter
The Optic
OwlSet ARGON ES 1.2X10 Nano Thermal Imaging Camera (VEOT-MC07)

+
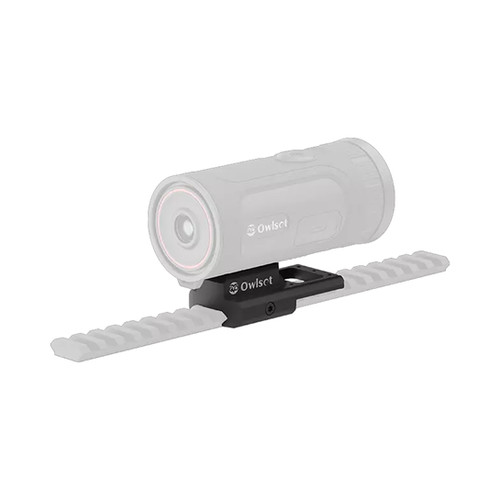
Owlset ARGON Picatinny / Helmet Adapter Plate (VEOTM-01)
Don’t Forget the Seasoning
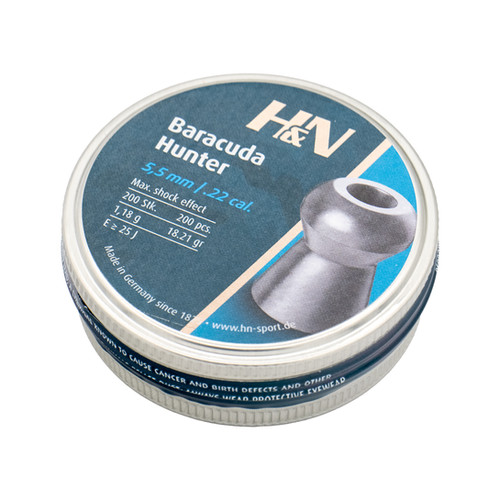
H&N Baracuda Hunter .177 (x400)
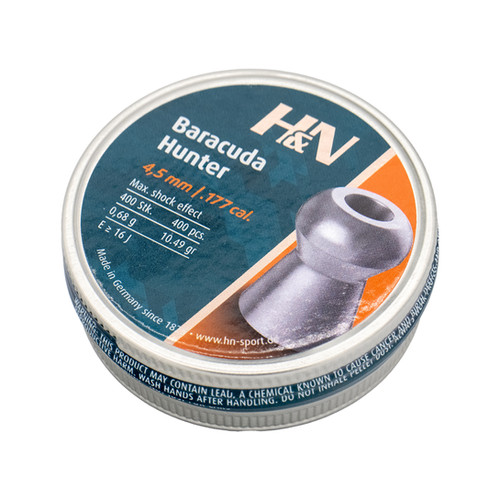
or Depending on your choice of calibre
H&N Baracuda Hunter .22 (x200)
Goes Well With
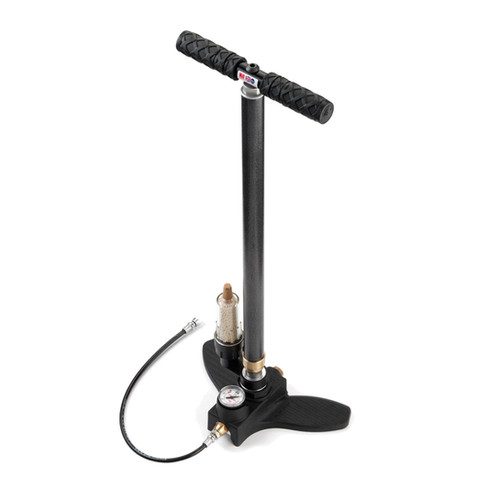
Hill 3-Stage Pump with Dry Pac
or
Bisley V6 Pump with Dry Pack
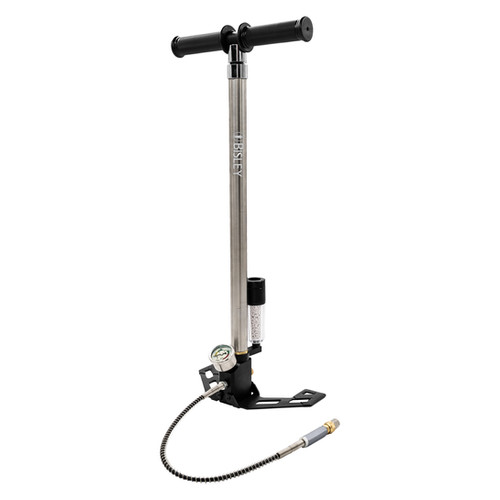
Plate Up
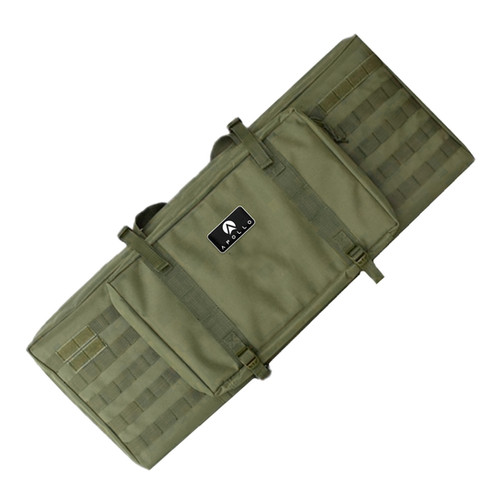
For the Bullpup:
APOLLO PMC Green Tactical Gun Bag (90cm)
For the Sporter:
APOLLO PMC Black Tactical Gun Bag (115cm)
Tools & Equipment You’ll Thank Us For
Bondhus Metric Hex Set (3rd party) - https://amzn.to/4fZrelO
Bondhus Star Set (3rd party) - https://amzn.to/46d7uYL
Tin Foil Sheets (for zeroing) (3rd party) - https://amzn.to/4vhIVVj
Portable Power Bank (3rd party) - https://amzn.to/4mmdnJL
USB-C Mains Adapter (3rd party) - https://amzn.to/4cguVCp
APOLLO Reactive Targets https://www.vector-air.co.uk/product-page/apollo-mixed-size-reactive-self-adhesive-targets
Best Fittings Foster QD Starter Set https://www.vector-air.co.uk/product-page/best-fittings-1-8-bsp-foster-quick-detach-coupling-starter-set
Method (Technique)
This one is refreshingly simple. It’s mostly a case of putting the right bits in the right places, but there are a few quirks worth knowing so you don’t end up shouting at it.
Step 1: Pick Your Base

You’ve got 2 flavours here. Bullpup or Sporter. Same price, very different feel.
The Sporter is your more traditional layout. Bolt action, longer profile, feels more at home on a bench or for casual target work.
The Bullpup is shorter, more compact, and just makes more sense for moving around barns, outbuildings, or tighter spaces.
For this build, we’re going Bullpup. Less length, less faff indoors, and generally easier to live with. If you prefer traditional, swap it out. This isn’t a dictatorship.
Step 2: Prep the Thermal

Ensure you have your VETOM-01 plate and its 2 screws

Fit the adapter plate using a 3mm hex key.
Mount it so the ring sits toward the rear. If it overhangs the front, it just looks wrong and gets in the way.
Step 3: Mount It

Stick the thermal on the rail, as far forward as practical.
This helps with actually seeing the screen properly when shooting, which is kind of important.

Tighten with a T15 Torx.
Leave the wrist strap on if you want, just wrap it neatly so it’s not flapping about like it’s trying to escape.
Step 4: Fill the Rifle
Before anything:
No pellets loaded
Magazine out
Rifle cocked
That last bit matters as if the gun is flat, cocking the rifle keeps the valve shut while filling.
Hook up your pump or bottle. If you haven’t got a Foster fitting yet, fix that first.
While you’re here:
Charge the thermal
Charge your power bank
Future you will appreciate it.
Step 5: Get the Thermal Behaving
If the screen comes on with no icons, it’s not broken. Tap the top button 8 times quickly. That resets the display. Yes, it’s a bit odd. No, you didn’t do anything wrong.
Step 6: Sort Your Settings
First job, switch units to meters. Just trust this one.
Navigate:
General settings → Units → Select meters
Then head into:
Advanced → Reticle settings
Pick a reticle you actually like looking at. You’ll be staring at it a lot.
Step 7: Zeroing (The Fun Bit)
Grab:
Tin foil sheet
Stick a non-reflective target on it
The foil gives you a nice, clear thermal signature as it reflects the infrared light, making it appear contrasted against the background
Go into:
Advanced → Reticle settings → Zeroing
Set your distance properly (in meters… because you listened earlier).
Take a shot, then adjust:
X axis = left/right
Y axis = up/down
If you want to make life easier: Clamp the rifle, take a shot, then move the reticle to the impact point instead of chasing shots around. Work your way back to your preferred distance, usually somewhere in that 10–20m sweet spot.
Result
What you end up with is a compact, affordable thermal-ready setup that’s ideal for close-range pest control.
It’s not trying to be a £2000 dream build. It doesn’t need to be.
What it does do is:
Keep things simple
Keep things effective
Keep things within a sensible budget
And for ratting at sensible distances, that’s exactly what you want.
No drama, no overkill, just a setup that works when the lights go down, and things start moving.
---------------------------------------------------
Think we missed something? Let us know in the comments below.
---------------------------------------------------
Support this blog by buying the blog writer a coffee!
---------------------------------------------------
*Please note that some of the links may be Amazon affiliate links, which means we may earn a small commission from your purchase. Affiliate links help support our blog and the valuable information we provide.
Image Use for Educational Purposes - This blog post includes images used for educational purposes, not all of which are not owned by the publisher. Efforts have been made to credit image owners/sources appropriately, and any concerns about attribution or copyright should be addressed by contacting us. These images are used solely for educational purposes within fair use guidelines, with no commercial intent. The inclusion of external images does not imply endorsement or sponsorship of our content by image owners/sources. We aim to comply with relevant copyright laws.


Comments